Extras
Appendices
Appendix A / Ubuntu Server / Working Remotely
Screen
If you are interested in either encoding or remuxing remotely on a Ubuntu Server, you should read this.
screen is going to be your best friend, as you’ll no doubt need this in case you want to
disconnect or are forcibly disconnected from SSH. screen -S sessionName creates a new screen
session that you can refer to as “sessionName”. To detach from an active screen session, use
Ctrl+A+D, or screen -d sessionName for a disconnected session. To re-attach, use screen -r
sessionName To list running screen sessions, screen -ls While inside of an active screen
session, use Ctrl+A+C to create a new window, and Ctrl+A+N and Ctrl+A+P to switch to
the next and previous windows, respectively. Read more about screen
here.
This is likely a due to a setting in your SSH client, as local users do not suffer from this issue, but the output of eac3to is often garbled due to the different types of newlines and WINE errors. WINE calls for terminal applications like eac3to should have stderr redirected to /dev/null and have stdout piped to tr for cleaning. For example,
wine ~/eac3to/eac3to.exe 2>/dev/null | tr -cd '\11\12\15\40-\176'
Note that this is only necessary for Blu-ray summary outputs, on any operation that allows a -progressnumbers switch (which is pretty much everything else), using -progressnumbers will fix the output, not to mention give you a proper ETA.
To take screenshots off your server, it’s recommended either setting up a GUI like NX/VNC or using X forwarding so you can use AvsPmod, which will take the best screenshots. The quick and dirty way is to use FFmpeg from the command line, but it’s not recommended this as you will be using the SD colormatrix for YUV->RGB conversions, which will result in incorrect colors on your screenshots.
NX
NX technology is a computer program that handles remote X Window System connections, and attempts to greatly improve on the performance of the native X display protocol to the point that it can be usable over a slow link such as a dial-up modem. It wraps remote connections in SSH sessions for encryption. This is a completely rewritten guide, based off my experience with getting everything set up on a stock Kimsufi 2G, mKS 2G, and OVH SP16 w/ Ubuntu 12.04 Server x64 - hopefully it still works on newer editions. Pretty much a repost of this + this or that. Old guide did not work with newer version of Ubuntu because of various changes, e.g. Unity.
sudo apt-get install python-software-properties
sudo add-apt-repository ppa:freenx-team
sudo apt-get update
sudo apt-get install ubuntu-desktop freenx

wget https://bugs.launchpad.net/freenx-server/+bug/\
576359/+attachment/1378450/+files/nxsetup.tar.gz

tar -xvf nxsetup.tar.gz
sudo cp nxsetup /usr/lib/nx/nxsetup
sudo /usr/lib/nx/nxsetup --install
sudo /etc/init.d/freenx-server restart

sudo echo -e "\n#Use unity 2d for client sessions\n\
COMMAND_START_GNOME='gnome-session --session=ubuntu-2d'" \
| sudo tee -a /etc/nxserver/node.conf
While SSH will give you the benefit of using screen to resume sessions (with processes continuing to run), NX has the “disconnect” feature, which is best described as screen for desktops. Any processes will continue to run and when you reconnect, the desktop will remain the same as when you disconnected.
Appendix B / Additional Resources and Tools
BDInfo
BDInfo is a great tool from cinemasquid that can scan Blu-ray discs for bitrate information and more. It runs natively on Windows, and under WINE+Mono on Ubuntu and OS X. You can download it from here. There is no installation. Ubuntu and OS X users can run BDInfo with
wine BDInfo.exe
Mediainfo
Mediainfo is a similar tool that works best on encodes.
For Windows users, I recommend using the GUI download, which you can download here.
For Ubuntu users, I recommend CLI, which you can get by running sudo apt-get install mediainfo OS
X users should get the CLI version as well, since the GUI for OS X is disgusting. Get it
here.
Mounting Blu-ray ISO Structures
Windows users can use DAEMON Tools Lite, which you can download here.
To mount on Ubuntu from the command line:
mkdir myBDMountPoint
sudo mount -o loop -t udf myBluRayImage.iso myBDMountPoint
To unmount:
sudo umount /dev/loop0
You might have to change that last part if you have more than one loop device mounted. You can see
file systems by running df
GUI users should be able to just double click.
OS X users should also be able to just double click to mount.
BDInfo Note: When searching for the mount point, go to the full mount point, e.g. myBDMountPoint, rather than Z: or whatever drive letter WINE has given your ISO. Scanning the drive letter will cause BDInfo to be unable to preview and save the full output.
Appendix C / Advanced AviSynth
Please read the editor’s note regarding Avisynth/Avxsynth.
Introduction
Sometimes, AviSynth scripts are vanilla (which is generally a good thing, since it means the source isn’t terrible to the point where you need to fix something), consisting of something like
ffvideosource("Tokyo.Godfathers.2003.BluRay.Remux.1080p.AVC.TrueHD.5.1.mkv")
Crop(94, 68, -94, -76)
Spline36ResizeMod(1280, 692)
but studios commonly display poor practices, and you might find yourself needing to alter the source material in some way before encoding to get the best quality. If you don’t clean up a source you’re encode is going to look as bad as the source it was based on.
Cut and Paste Hybrids
These are just a combination of trims and concatenation, essentially cut and paste with frames. The best practice is to only cut at scene changes, as otherwise it may be too noticeable. You should make sure the resulting frame changes are consistent with the main video track, the video track that belongs to the audio track that you are using, i.e. if you take out 100 frames from some spot, you replace it with exactly the matching 100 frames from the other source. In a best case scenario, this is relatively painless.
Examples
NOR=FFVideoSource("D:\My Videos\Encodes\Dawn.Of.The.Dead\NOR.mkv").Crop(0, 132, 0, -132).AssumeFPS(24000,1001)
NORdeband=FFVideoSource("D:\My Videos\Encodes\Dawn.Of.The.Dead\NOR.mkv").Crop(0, 132, 0, -132).AssumeFPS(24000,1001).f3kdb(range=31, grainY=85, grainC=85, blur_first=true, dynamic_grain=false).GradFun3(thr=2.0, thrC=0.5, smode=3)
USA=FFVideoSource("D:\My Videos\Encodes\Dawn.Of.The.Dead\USA.mkv").Crop(0, 128, 0, -136)
NOR.Trim(0, 845)+NORdeband.Trim(846, 1145)+NOR.Trim(1146, 48756)+USA.Trim(48757, 48759)+NOR.Trim(48760, 0)

# 14000 Bitrate
# --zones 846,1145,b=2.5
# Fixed Corrupt frames on NOR with US + Debanded begining.
USA=FFVideoSource("D:\Encodes\Killer.Joe\USA\Source.mkv")
GER=FFVideoSource("D:\Encodes\Killer.Joe\GER\Source.mkv")
USA.Trim(0, 965)+GER.Trim(35, 140875)+USA.Trim(141807, 0)
Crop(0, 20, -0, -20)
FillMargins(0, 2, 0, 2)
USA=FFVideoSource("D:\Encodes\Killer.Joe\USA\Source.mkv")
GER=FFVideoSource("D:\Encodes\Killer.Joe\GER\Source.mkv")
USA.Trim(0, 965)+GER.Trim(35, 140875)+USA.Trim(141807, 0)
Crop(0, 20, -0, -20)
FillMargins(0, 2, 0, 2)[/pre][/quote]
[quote][pre]USA=FFVideoSource("D:\My Videos\Encodes\Memento\USA.mkv").Crop(0, 132, -0, -132).FillMargins(1, 0, 1, 0)
Clip1=FFVideoSource("D:\My Videos\Encodes\Memento\GER.mkv").Crop(2, 132, -2, -132).FillMargins(1, 0, 1, 0).Spline36Resize(1920, 816).Trim(24, 0)
Clip2=FFVideoSource("D:\My Videos\Encodes\Memento\JPN.mkv").Crop(2, 140, -2, -140).FillMargins(1, 0, 1, 0).Spline36Resize(1920, 800)
JPN=Overlay(Clip1, Clip2, x=0, y=8)

USA.Trim(0, 3694)+JPN.Trim(3676, 4255)+USA.Trim(4275, 9190)+JPN.Trim(9172, 10094)+USA.Trim(10114, 14697)+JPN.Trim(14679, 15959)+\
USA.Trim(15979, 23330)+JPN.Trim(23312, 24407)+USA.Trim(24427, 32075)+JPN.Trim(32057, 32980)+USA.Trim(33000, 38491)+JPN.Trim(38473, 40993)+\
USA.Trim(41013, 45635)+JPN.Trim(45617, 46865)+USA.Trim(46885, 56746)+JPN.Trim(56728, 57875)+USA.Trim(57895, 64812)+JPN.Trim(64794, 66266)+\
USA.Trim(66286, 70411)+JPN.Trim(70393, 71076)+USA.Trim(71096, 74947)+JPN.Trim(74929, 75254)+USA.Trim(75274, 77084)+JPN.Trim(77066, 77350)+\
USA.Trim(77370, 81485)+JPN.Trim(81467, 82712)+USA.Trim(82732, 85622)+JPN.Trim(85604, 86571)+USA.Trim(86591, 90189)+JPN.Trim(90171, 93429)+\
USA.Trim(93449, 99806)+JPN.Trim(99788, 100615)+USA.Trim(100635, 105025)+JPN.Trim(105007, 105614)+USA.Trim(105634, 111201)+JPN.Trim(111183, 112013)+\
USA.Trim(112033, 117584)+JPN.Trim(117566, 118688)+USA.Trim(118708, 119826)+JPN.Trim(119808, 120357)+USA.Trim(120377, 124515)+JPN.Trim(124497, 129688)+\
USA.Trim(129708, 135199)+JPN.Trim(135181, 140092)+USA.Trim(140112, 140136)+JPN.Trim(140118, 140488)+USA.Trim(140508, 140531)+JPN.Trim(140513, 140680)+\
USA.Trim(140700, 140719)+JPN.Trim(140701, 142254)+USA.Trim(142274, 142331)+JPN.Trim(142313, 142492)+USA.Trim(142512, 142530)+JPN.Trim(142512, 143427)+\
USA.Trim(143447, 0)

# 18000 Bitrate
# USA for color scenes
# GER for top and bottom edges with JPN overlay
# JPN has dirty lines on top and bottom.. But has better PQ then GER.
FRE=FFVideoSource("D:\My Videos\Encodes\Pandorum\FRE.mkv")
USA=FFVideoSource("D:\My Videos\Encodes\Pandorum\USA.mkv").DuplicateFrame(0, 0, 0, 0, 0, 0)
USA.Trim(0, 2063)+FRE.Trim(2466, 26920)+USA.Trim(26519, 26520)+FRE.Trim(26922, 145584)+USA.Trim(145184, 0)
Crop(0, 132, -0, -132)

# 16000 Bitrate
# Spliced out French hardcoded titles with English + Fixed missing / corrupt frame on FRE with US BD
# Plus added 6 duplicate frames as they get discarded during decoding.
# Causes audio to be back in sync instead of 250ms out of sync
NOR=FFVideoSource("D:\My Videos\Encodes\Pan's.Labyrinth\NOR.mkv")
UK=FFVideoSource("D:\My Videos\Encodes\Pan's.Labyrinth\UK.mkv")
UK.Trim(48, 3140)+NOR.Trim(3093, 59058)+UK.Trim(59107, 59111)+NOR.Trim(59064, 0)
Crop(0, 20, -0, -22)

# 19000 Bitrate
# Fixed NOR intro with UK intro + repaired 5 corrupt frames on NOR with UK Source.
JPN=FFVideoSource("D:\My Videos\Encodes\Terminator.2\JPN.mkv")
USA=DGSource("D:\My Videos\Encodes\Terminator.2\USA.dgi")
USA.Trim(0, 70)+JPN.Trim(1, 22268)+JPN.Trim(23712, 27458)+USA.Trim(26086, 26086)+JPN.Trim(32279, 58383)+JPN.Trim(58871, 63613)+\
JPN.Trim(64330, 99919)+USA.Trim(92525, 93016)+JPN.Trim(100190, 100233)+JPN.Trim(105248, 108016)+JPN.Trim(109889, 113300)+\
JPN.Trim(116670, 121656)+JPN.Trim(123813, 136571)+JPN.Trim(137747, 137990)+JPN.Trim(137592, 137746)+JPN.Trim(138338, 156862)+\
JPN.Trim(158121, 190427)+JPN.Trim(190800, 191023)+USA.Trim(168443, 168443)+JPN.Trim(191448, 202863)+JPN.Trim(202945, 213858)+\
USA.Trim(190774, 0)
Crop(2, 132, -2, -132)
FillMargins(1, 1, 1, 1)

# Converted JPN DC to Theatrical. Used a few sections from US BD.
Debanding
Here is one way to deband: https://pastebin.com/prEzbvNf.
pafnucy wrote: In this example, banding was fixed with
f3kdb() filter. Another popular one is
GradFun3(). Since debanding filters are
fairly aggressive, you typically want to apply them only to selected scenes. You can selectively
deband and join multiple scenes in the following fashion:
a=f3kdb()
trim(a,0,7854)+trim(7855,8092)+trim(a,8093,8288)+trim(8289,8864)+trim(a,8865,194400)
Read the documentation of each filter and experiment with the parameters to find a suitable setting. Note that it’s very easy to reintroduce banding if your x264 encoding settings are incorrect. Raising aq-strength and optimizing the parameters to preserve the dithering might help.
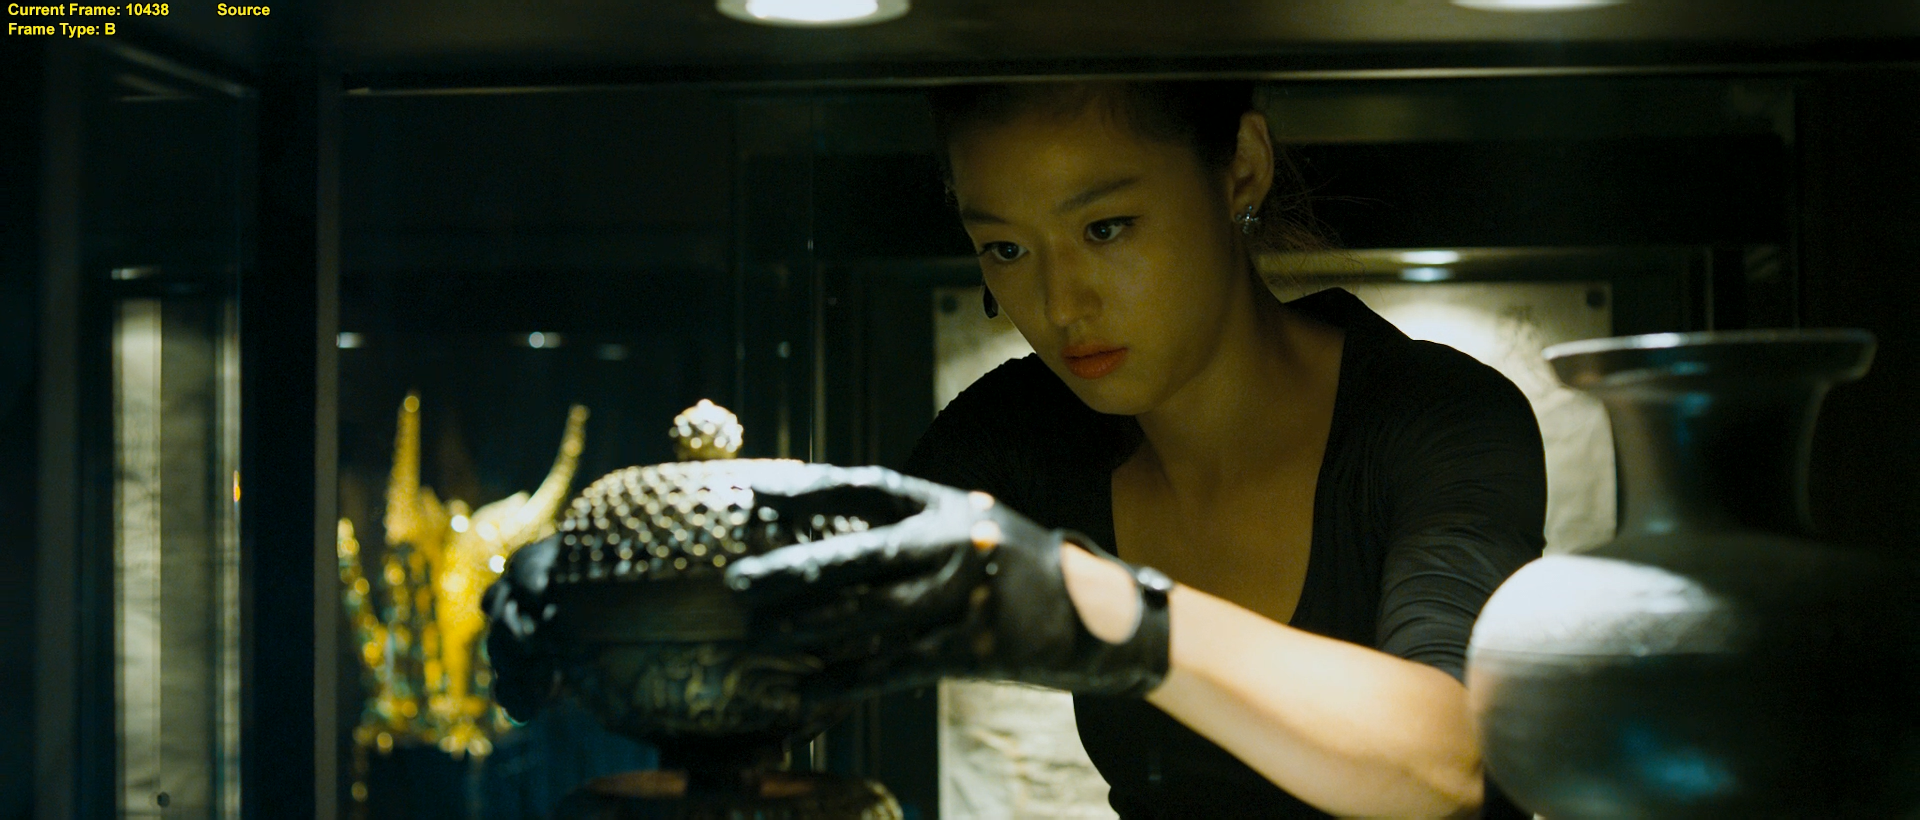
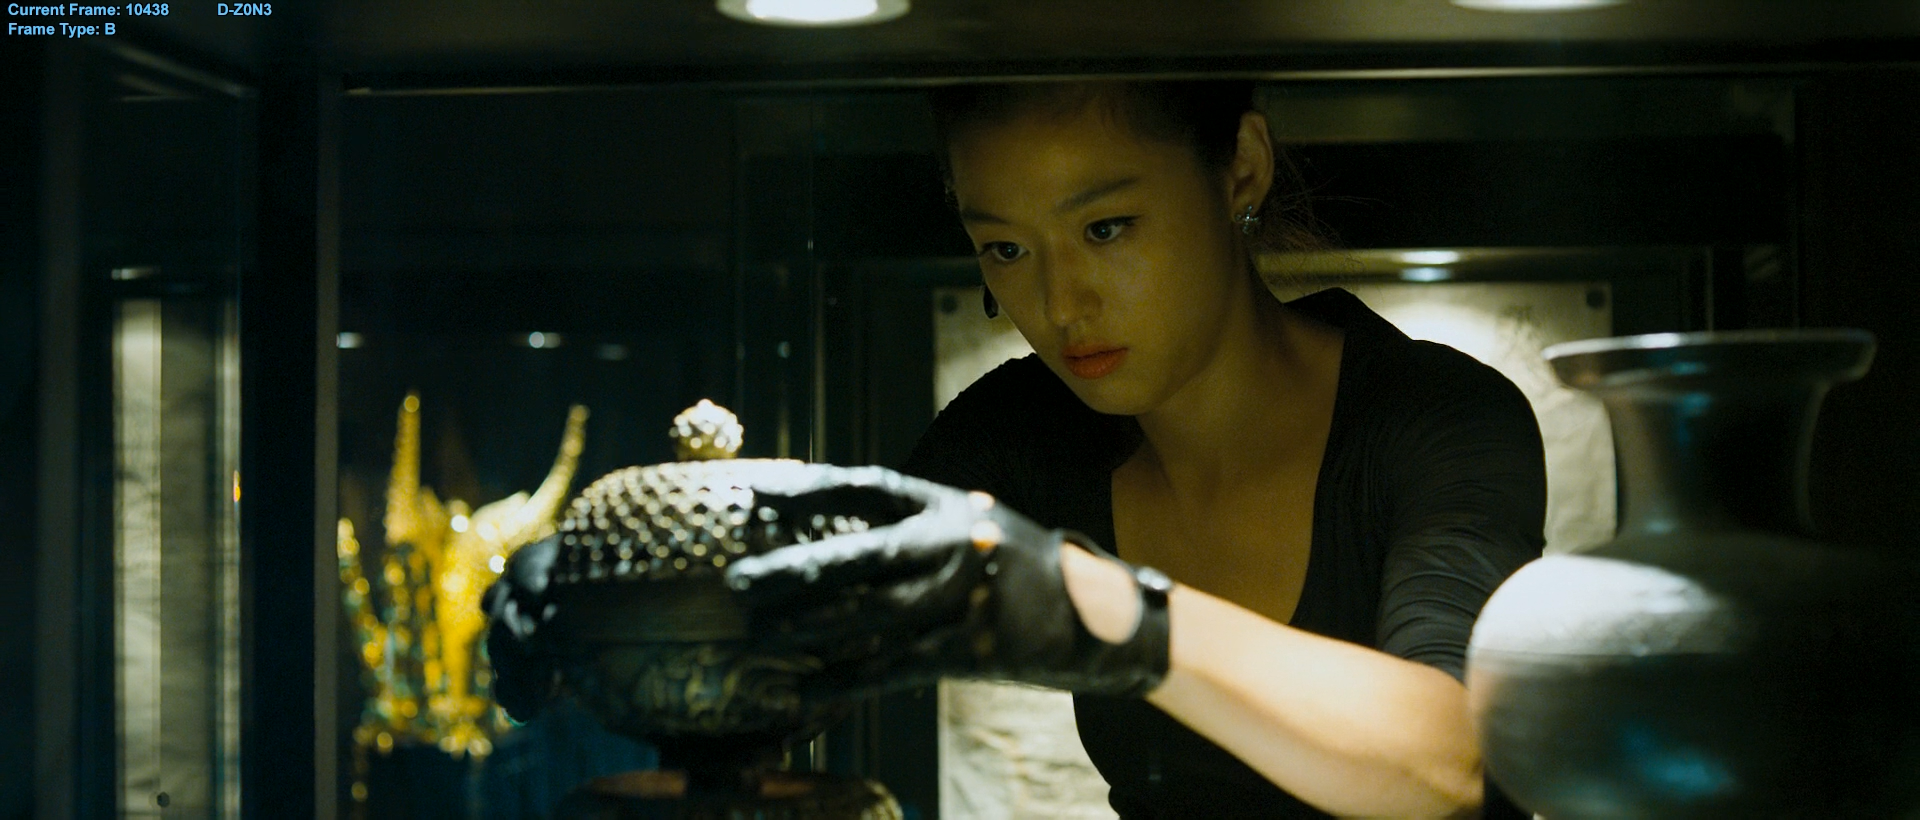
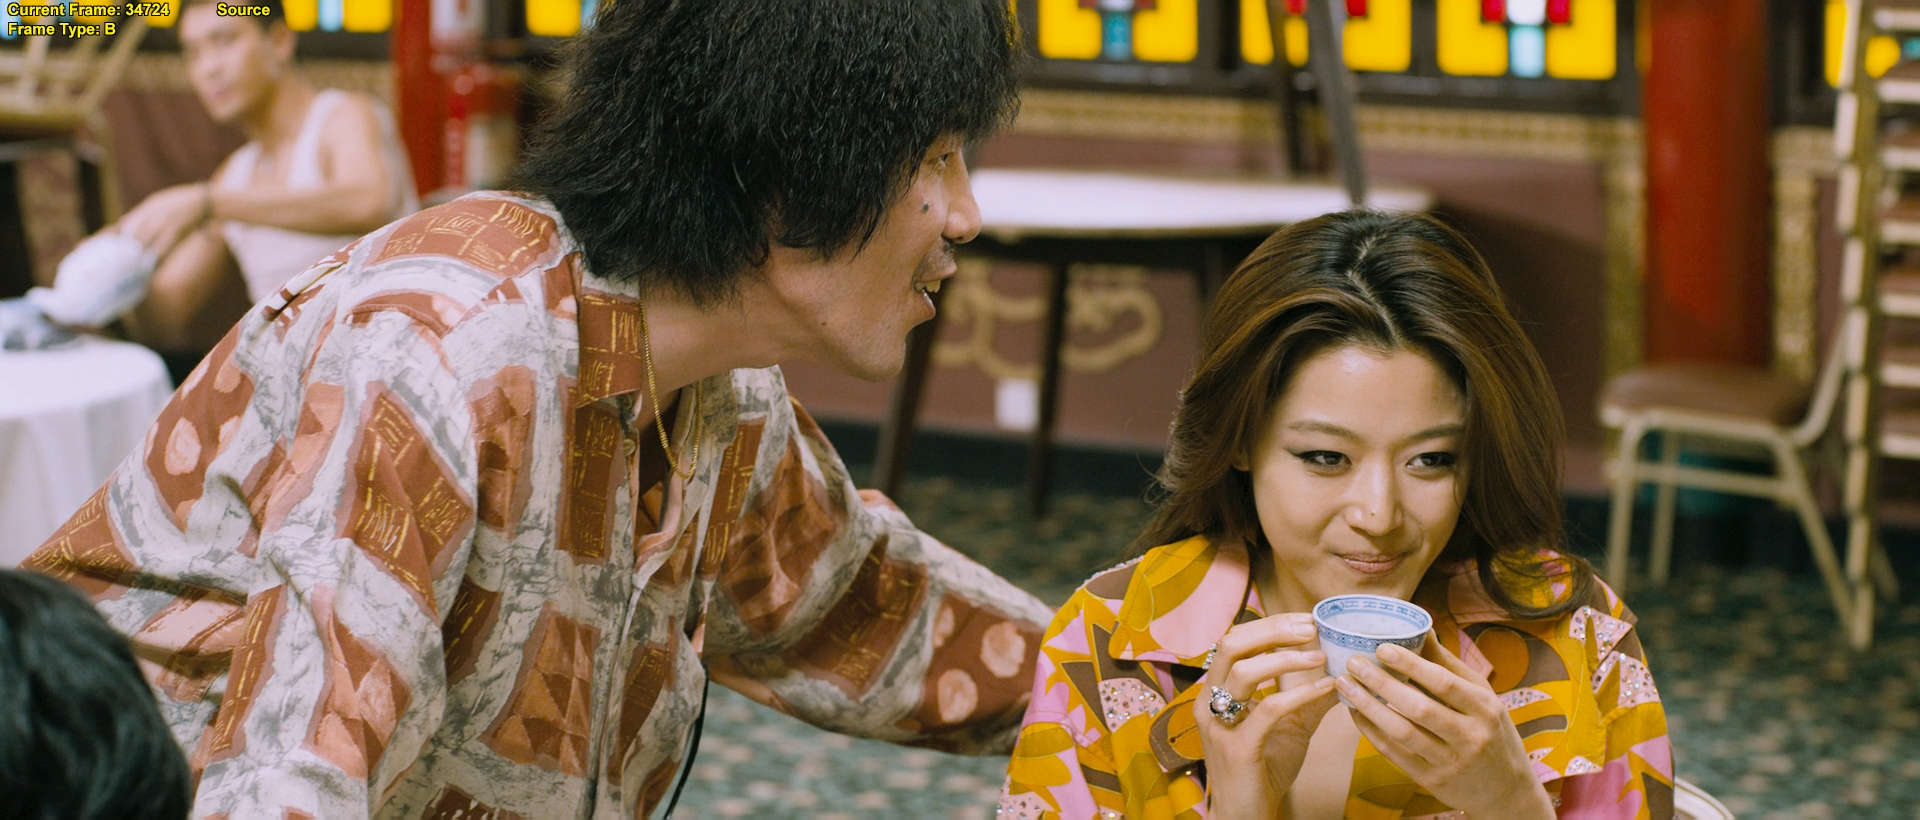
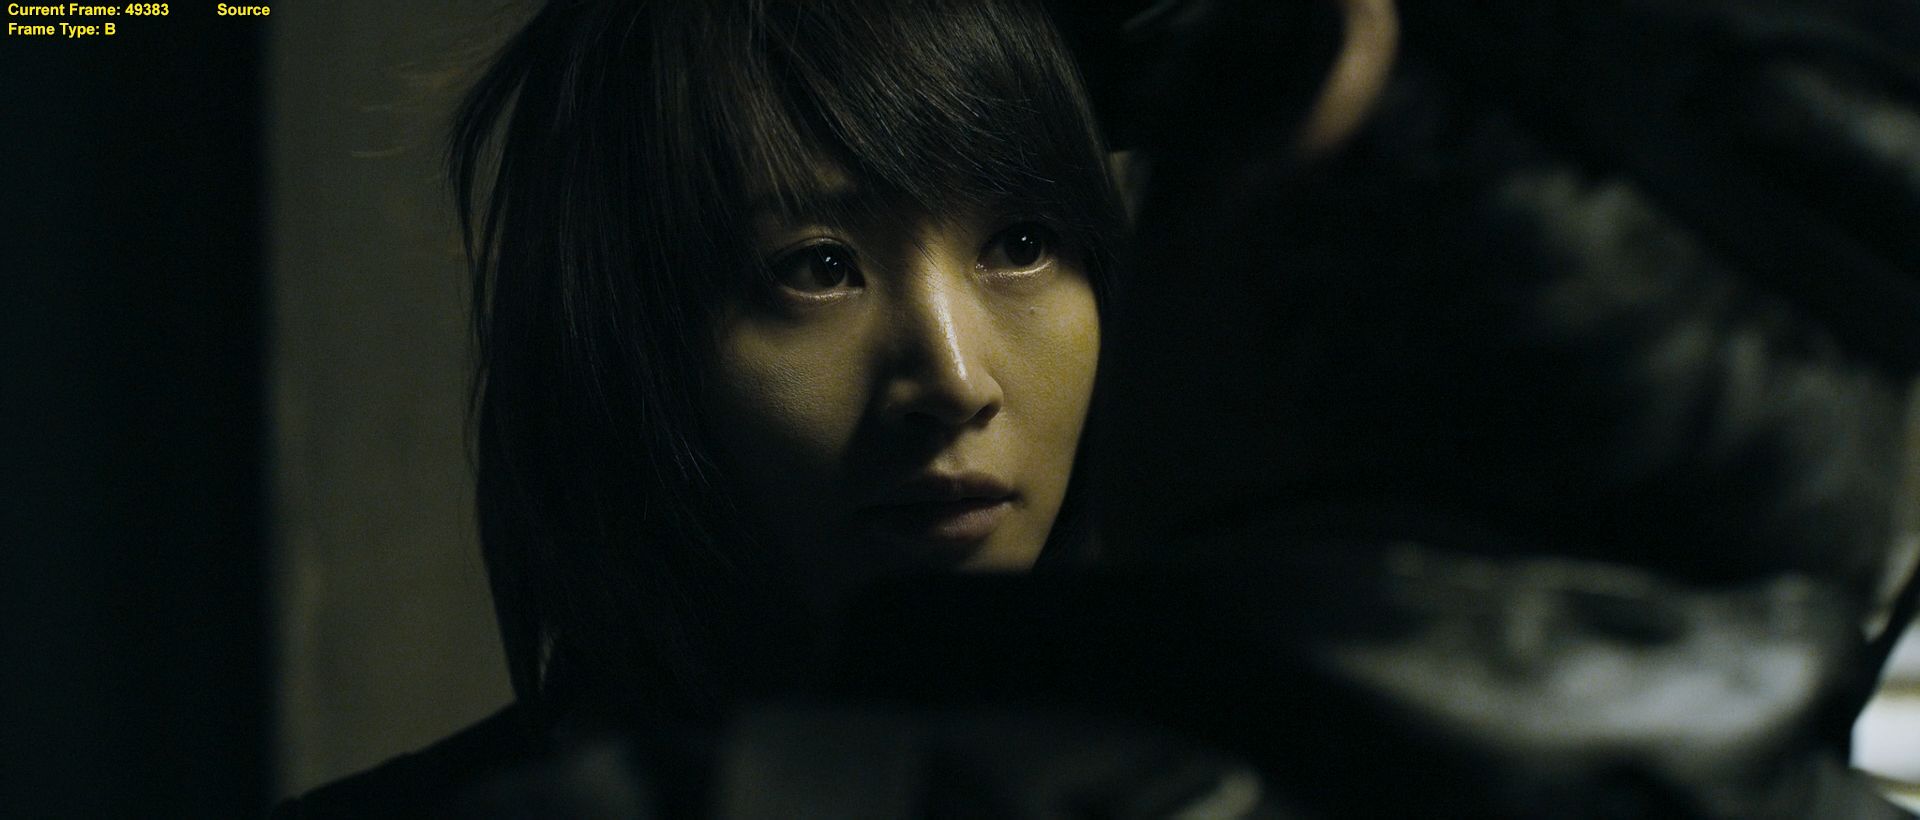
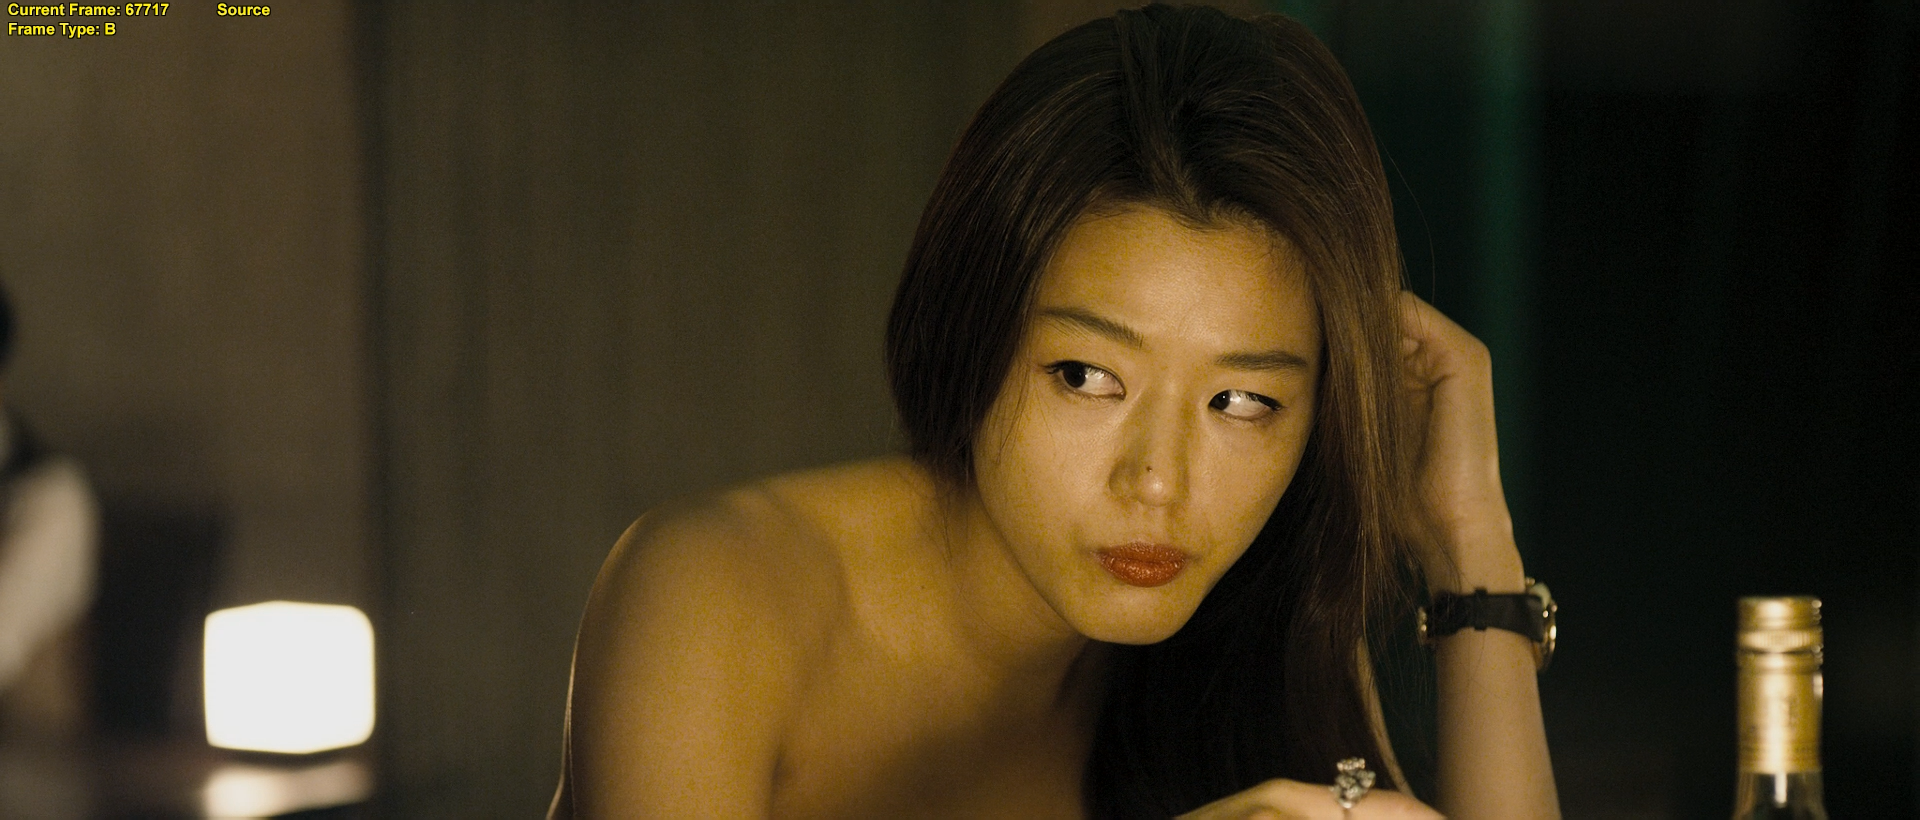
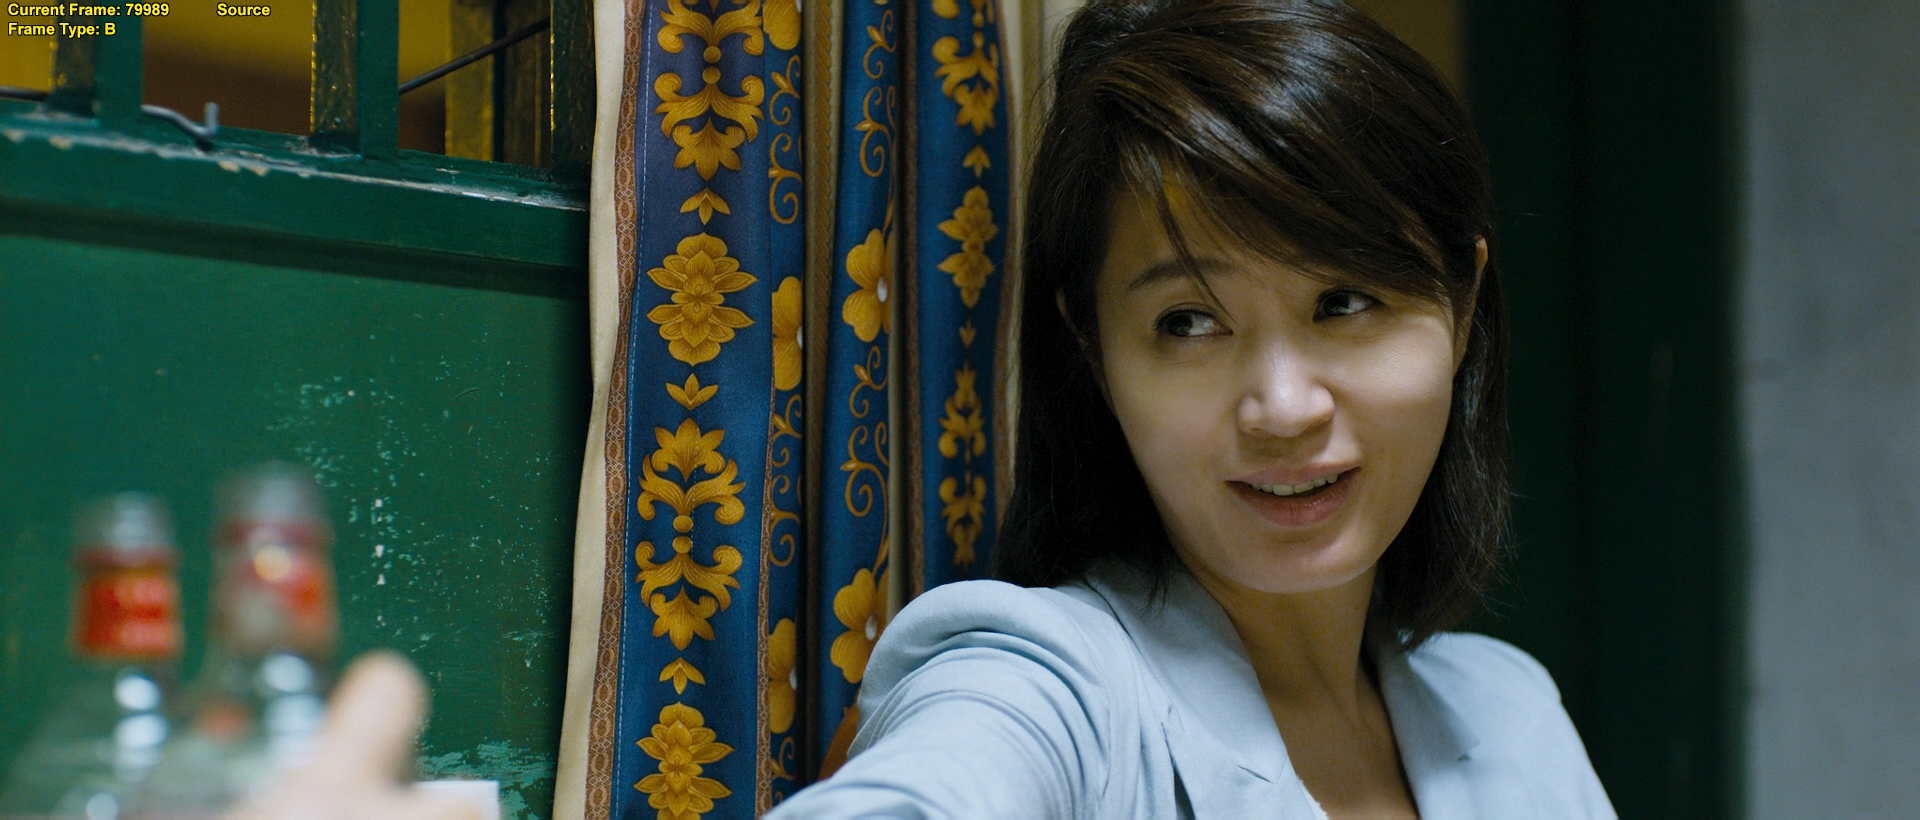
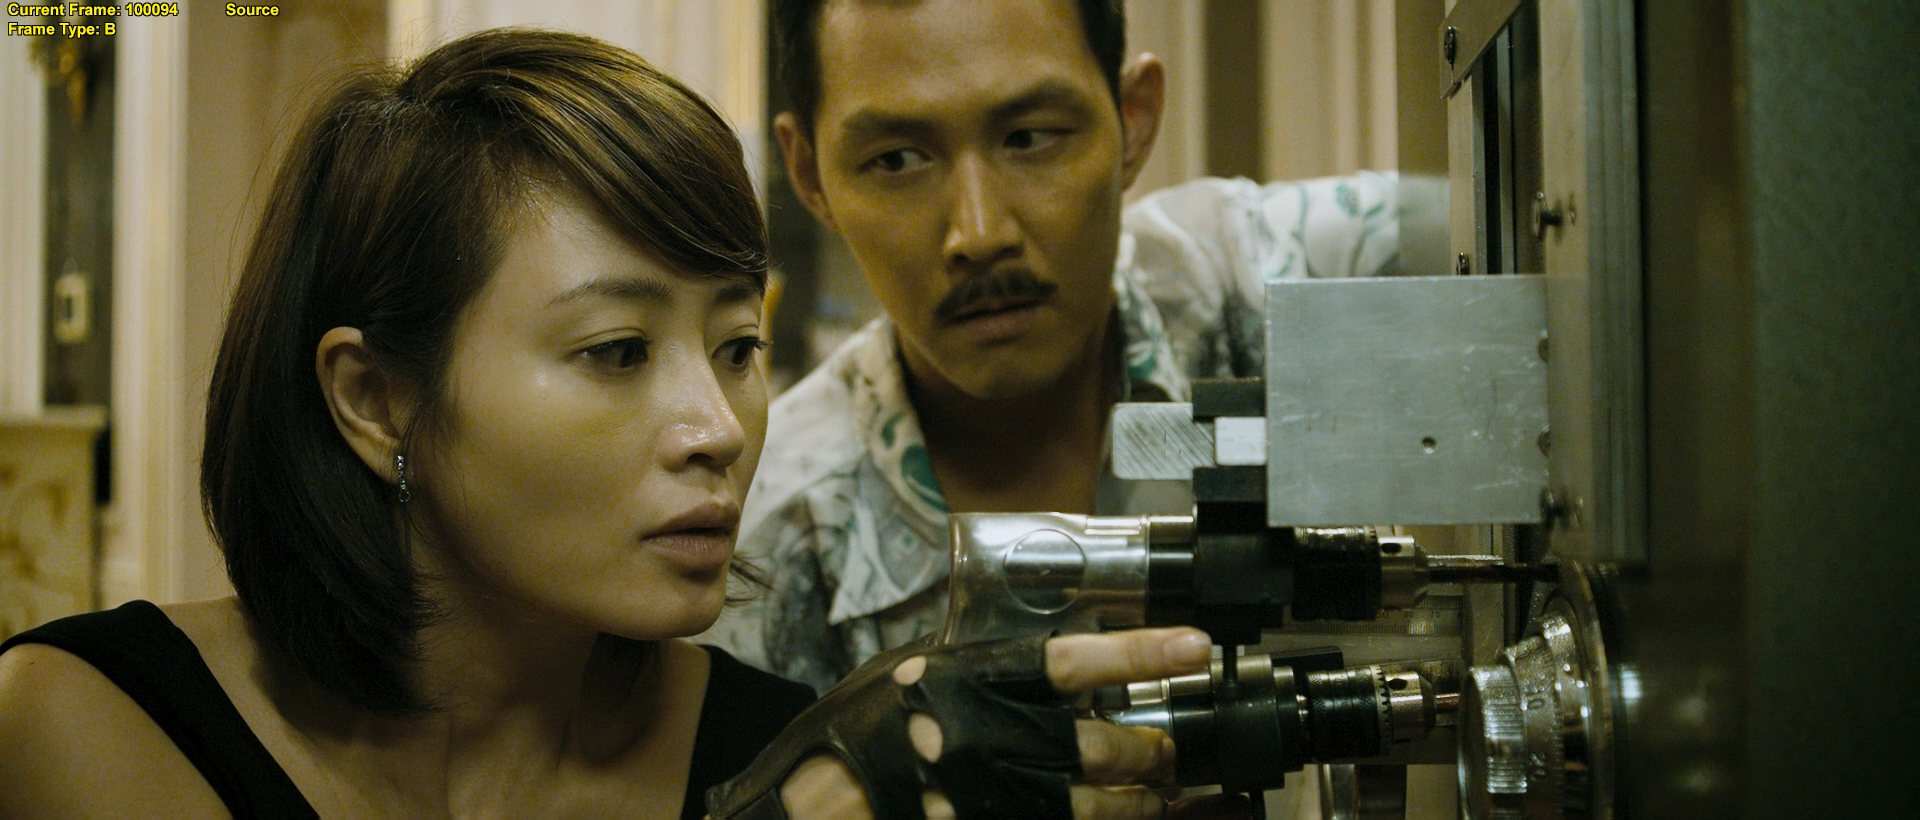
Source vs Filtered Source


FFVideoSource("D:\My Videos\Encodes\The.Thieves\Source.mkv")
Crop(0, 130, -0, -130)
FillMargins(0, 2, 0, 2)
GradFun3(thr=0.8, thrC=0.5, smode=3)
f3kdb(range=31, grainY=45, grainC=45, blur_first=true, dynamic_grain=false)

# 16000 Bitrate
# --zones 50210,50447,b=2.5/93551,94805,b=2.5


Dion wrote: thr will increase the strength of GradFun3. Probably wont need more then 1.0 ever. for f3kdb increasing the grain will add more grain. Also changing dynamic_grain to true will make the grain random instead of one smooth grain structure. False is good for cartoons and anime. And movies is good with true. Sometimes false works on movies okay too. If you want to deband only darker areas of a film, you can do it with the following script:
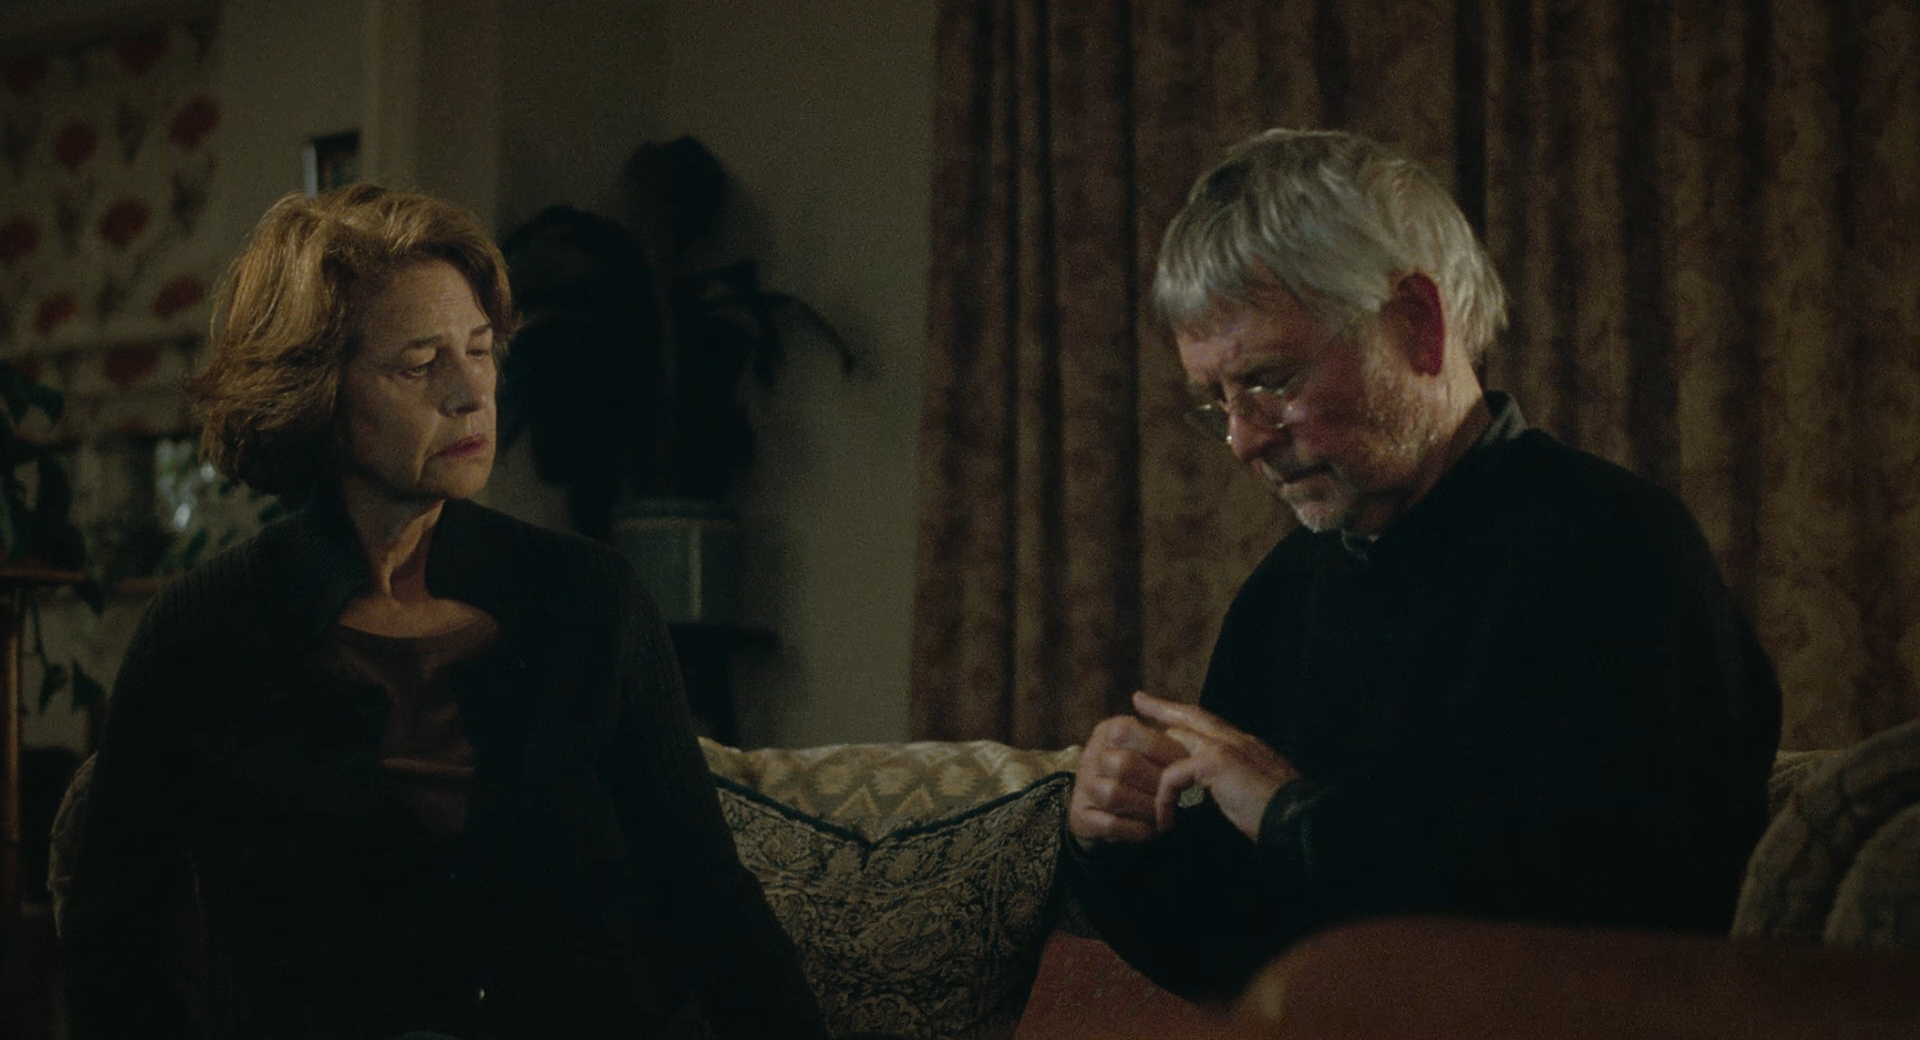
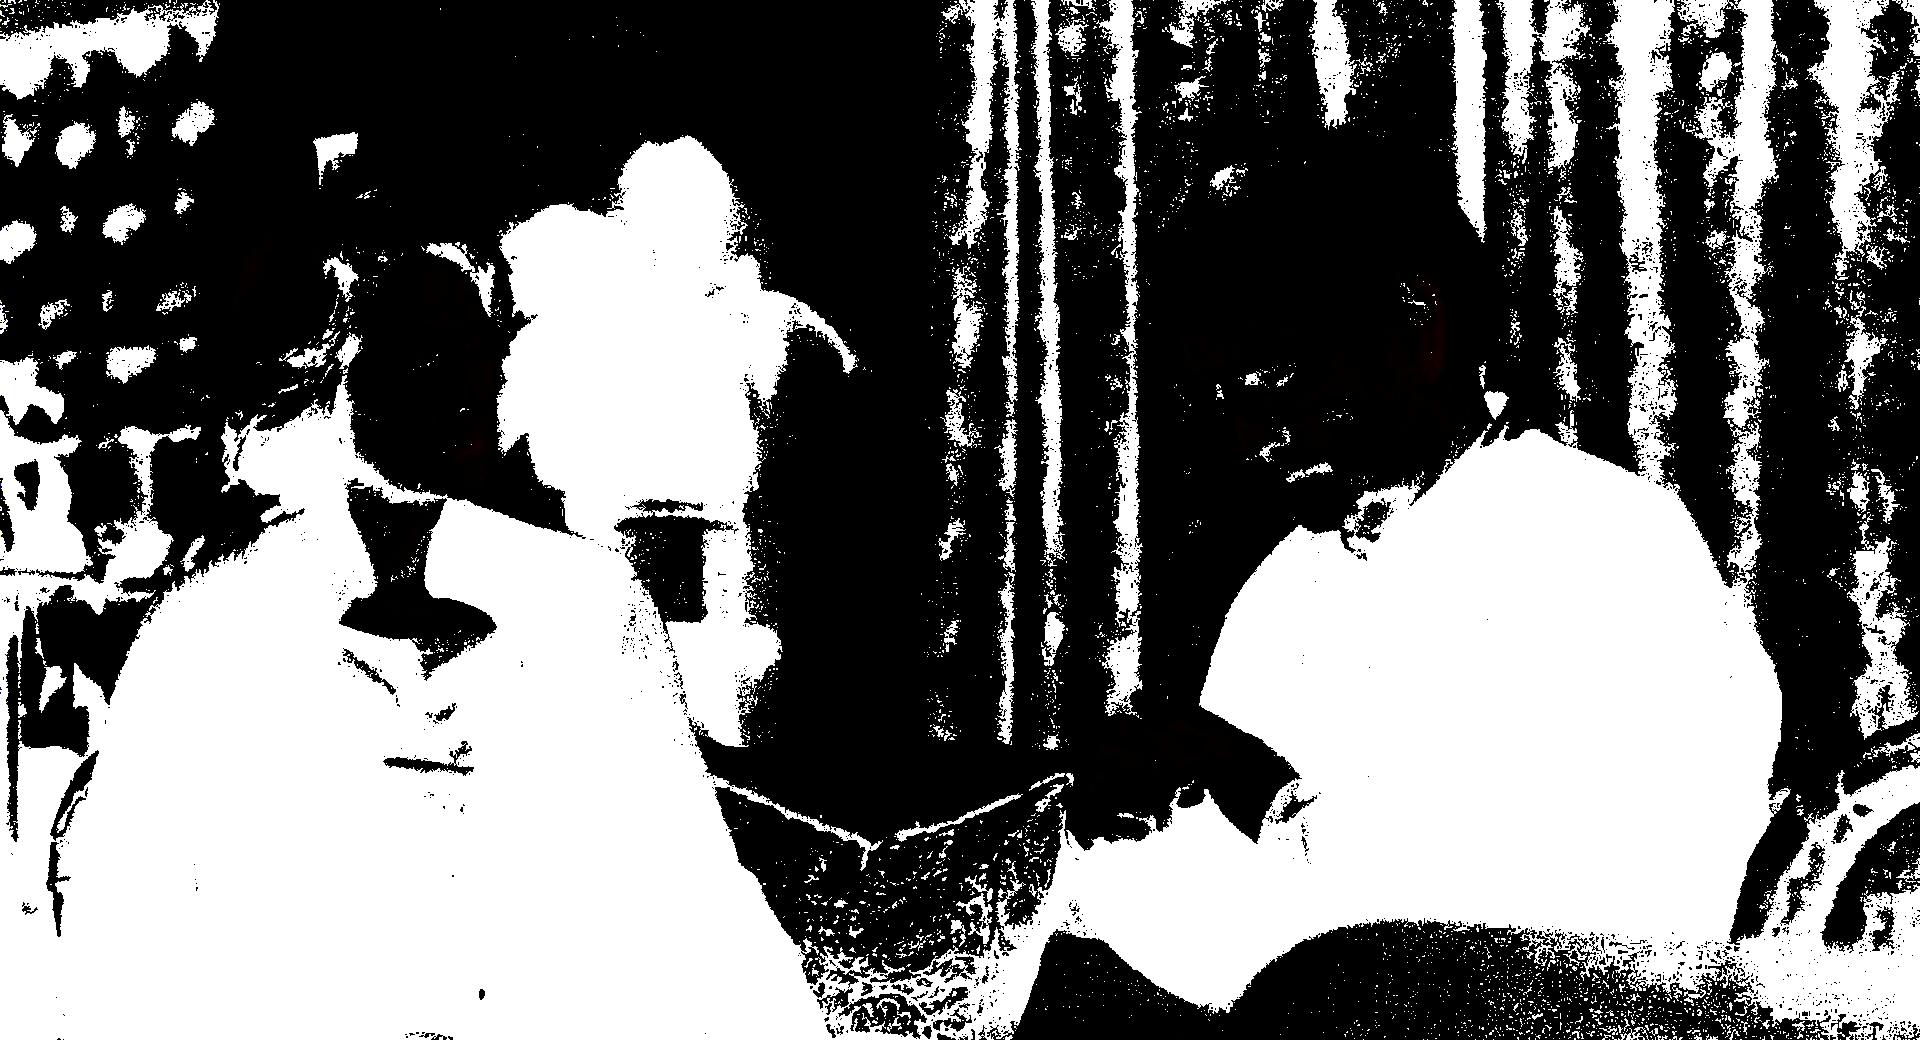
ffvideosource("d:\45years.mkv")
mt_merge(last,f3kdb(dither_algo=3,y=32,cb=35,cr=35,grainy=70,grainc=70),mt_binarize(36,true),u=3,v=4)
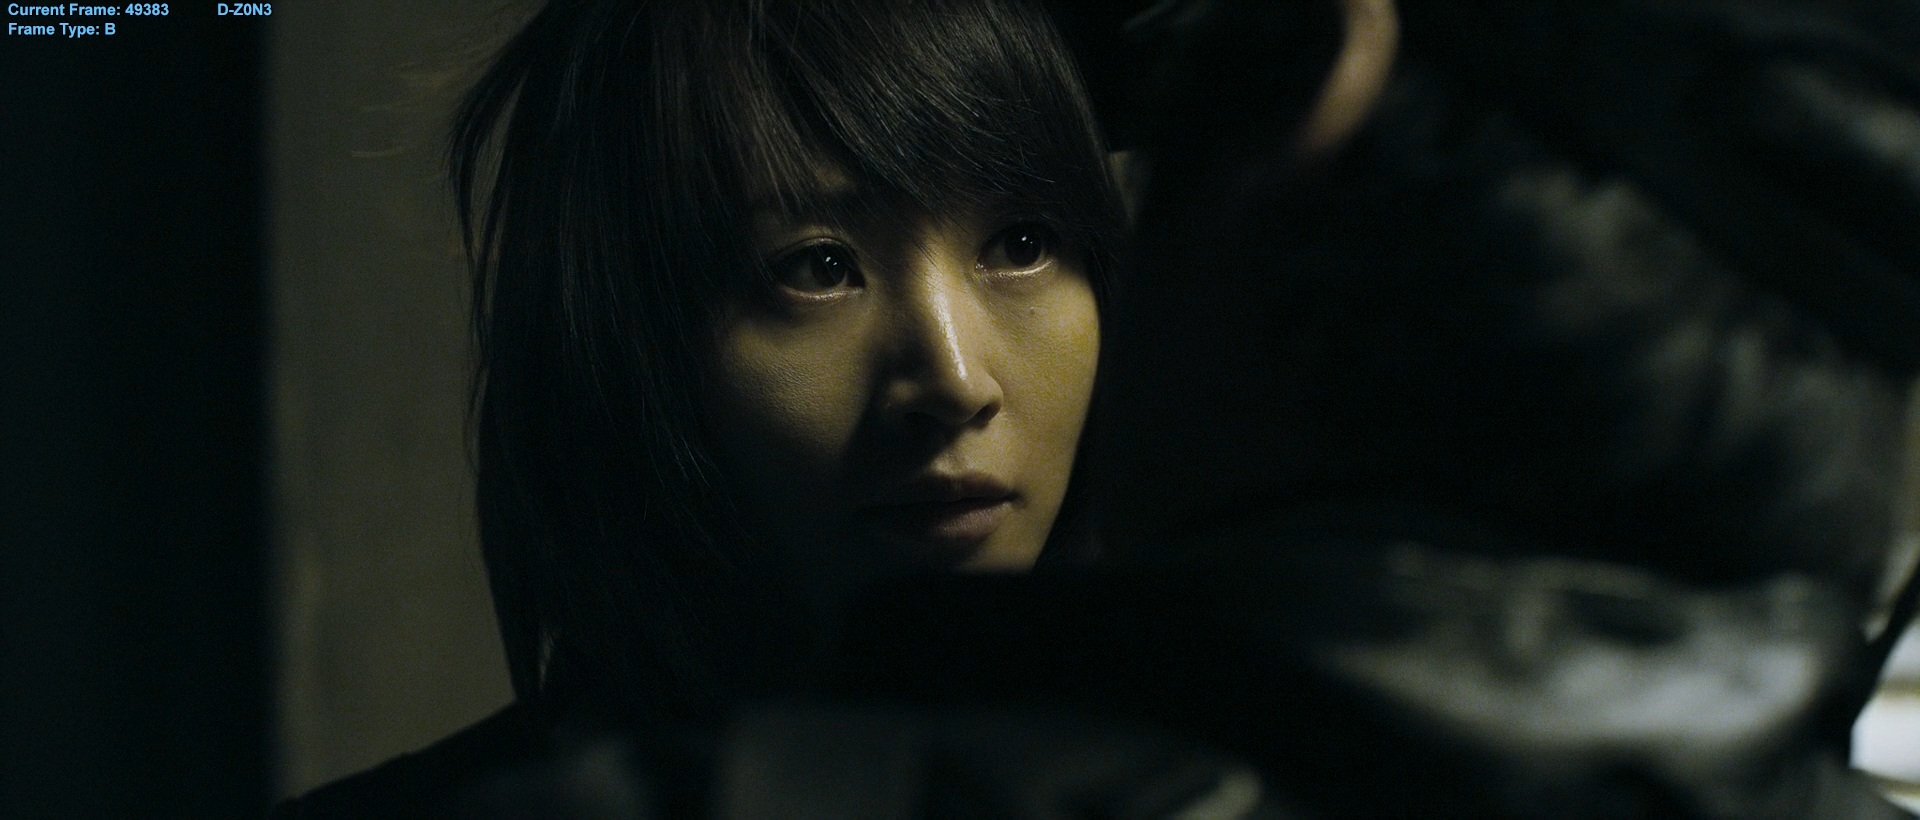
daxie wrote: Here f3kdb is only applied to the areas given by the mt_binarize(36,true)
statement. Tese are white areas in the second screenshot below. What is debanded can be changed by
adjusting the mt_binarize variable.
Source, mt_binarize, mt_merge:

Fixing Dirty Lines
There are several ways to tackle this problem and saying one is more right than another is difficult. Each method outlined here has a reason for being suggested. To start with the most basic way to fix a single dirty line is by using BalanceBorders to average the data from the neigboring line of pixels with the dirty line. This is ok for single line clean up at the edge of the frame (though often better results can be had with the other method below in addition to a light balanceborders). Below is an example of both fixes to show the minmal difference the two methods have.
Source, BalanceBorders, FixColumnBrightness:


FFVideoSource("I:\temp\toons\vol1\0\Looney.Tunes.Volume.One.E01.Hare.Tonic.1080p.BluRay.Remux.AVC.DD1.0-HiFi.mkv")
Crop(220, 0, -220, -0)
FFVideoSource("I:\\temp\\toons\\vol1\\0\\Looney.Tunes.Volume.One.E01.Hare.Tonic.1080p.BluRay.Remux.AVC.DD1.0-HiFi.mkv")
Crop(220, 0, -220, -0)
BalanceBorders(0,0,1,0, thresh=128, blur=30)
FFVideoSource("I:\\temp\\toons\\vol1\\0\\Looney.Tunes.Volume.One.E01.Hare.Tonic.1080p.BluRay.Remux.AVC.DD1.0-HiFi.mkv")
Crop(220, 0, -220, -0)
FixColumnBrightness(0,16,121,16,235)
BalanceBorders(0,0,1,0, thresh=64, blur=999)
The best way I know of to fix multiple dirty lines or lines that vary in frame position is by using FixColumnBrightness/FixRowBrightness. They abstract ylevels from you and do the overlays automatically, all you have to do is figure out values that make the dirty lines look best for the whole movie. This is done by finding a bright scene where the lines are most visible and using 16,235,16,235 as the starting point (it will not change the line). The second value is more or less the more interesting value to tweak, lowering it will brighten the line and raising it will dim the line.
Download AviSynth version here. Download AviSynth+ 32bit/64bit version here.
A modified version of FixRow/ColumnBrightness is FixRowBrigthnessProtect/FixColumnBrightnessProtect. The format is very similar to FixColumnBrightness/FixRowBrightness - 0,16,235,16,235,[b]20[/b]. The last value determines which pixels wouldn’t be affected by the filter. Increasing the value, you protect the pixels with lower luma (darker pixels. For example: using 0 none pixels are protected; using 255 all pixels are protected; using 135 pixels with luma >135 are protected (the brighter part of the image).
Download AviSynth version here. Download AviSynth+ 32bit/64bit version here.
A faster version without dither of FixRow/ColumnBrightnessProtect is FixRowBrighnessProtect2/FixColumnBrightnessProtect2. The usage is different than the other versions, it’s described in the script.
Download AviSynth version here. Download AviSynth+ 32bit/64bit version here.
There is another method that can be used called AutoDLF and for the most part is will produce reasonable results overall, but as it averages values from a line it will not work well in very bright scenes or in high contrast colors in the same line or with varying image size (think IMAX movies) a properly tuned brightness fix will work better. AutoDLF is pretty self explanatory so I won’t get into how to use it.
Meanwhile you should pretty much never use balanceborders on more than 2 pixels, it will mangle every pixel even if it doesn’t need to be touched, and will merge everything thus losing detail. I’ll show you the reasoning of all of this in the below comparisons of the three methods.
Source, FixColumnBrightness, AutoDLF, BalanceBorders:


FFVideoSource("I:Ring.1998.BluRay.1080p.DTSHD-MA.h264.Remux-PUDDiNG.mkv")
FFVideoSource("I:Ring.1998.BluRay.1080p.DTSHD-MA.h264.Remux-PUDDiNG.mkv")
FixColumnBrightness(6,16,225,16,230)
FixColumnBrightness(3,16,225,16,235)
FixColumnBrightness(2,16,245,16,230)
FixColumnBrightness(1,16,210,16,240)
FixColumnBrightness(0,16,150,16,255)
FFVideoSource("I:Ring.1998.BluRay.1080p.DTSHD-MA.h264.Remux-PUDDiNG.mkv")
AutoDLF("v", 7, clean=8)
AutoDLF("v", 4, clean=8)
AutoDLF("v", 3, clean=8)
AutoDLF("v", 2, clean=8)
AutoDLF("v", 1, clean=8)
FFVideoSource("I:Ring.1998.BluRay.1080p.DTSHD-MA.h264.Remux-PUDDiNG.mkv")
BalanceBorders(0,0,6, 0, thresh=128, blur=30)
bbmodis an alternative of BalanceBorders. Both should be tested on every source to see which one gives better results.
Filtering & Resizing
In the encoding section of this guide it mentions resizing but that’s primarily there for the people that didn’t read the filtering guide’s first instruction. Since you didn’t skip this section and you will be filtering at some point its fair to warn you about a few of the things to keep in mind when doing a resized encode.
First if you have a single row of black pixels that can’t be cropped and you’re resizing using fillmargin and then cropping on the resize is key, this will get rid of the single dirty line and keep the edge clean when it resamples for the resize.
FFVideoSource(source.mkv)
FillMargins(1,0,1,0)
Spline36ResizeMod(1278, 720,1,0,-1,0)
FillBorder is a FillMargins alternative (the same usage) for AviSynth+ 64bit (download here)
Secondly most clean up of the source should be done before you resize. The exception to this is debanding/deblocking this should be done after you resize since the resize will destroy the grain you added and potentially reintroduce banding.
More
You can do all sorts of things with AviSynth, so it would be unreasonable to attempt to cover it all here. doom9 is a great resource.
Tool Chest
AviSynth+ x86/x64 plugin folder (plugins+ for 32bit, plugins64+ for 64bit).